Are you a service-based business, that wants to market your services through Facebook?
The Services section on Facebook allows professional service businesses to create a ‘Services’ tab to highlight their current offers.
Continue reading and we will show you how to use the Services section of your Facebook page.

How to add a Services section to your Facebook page.
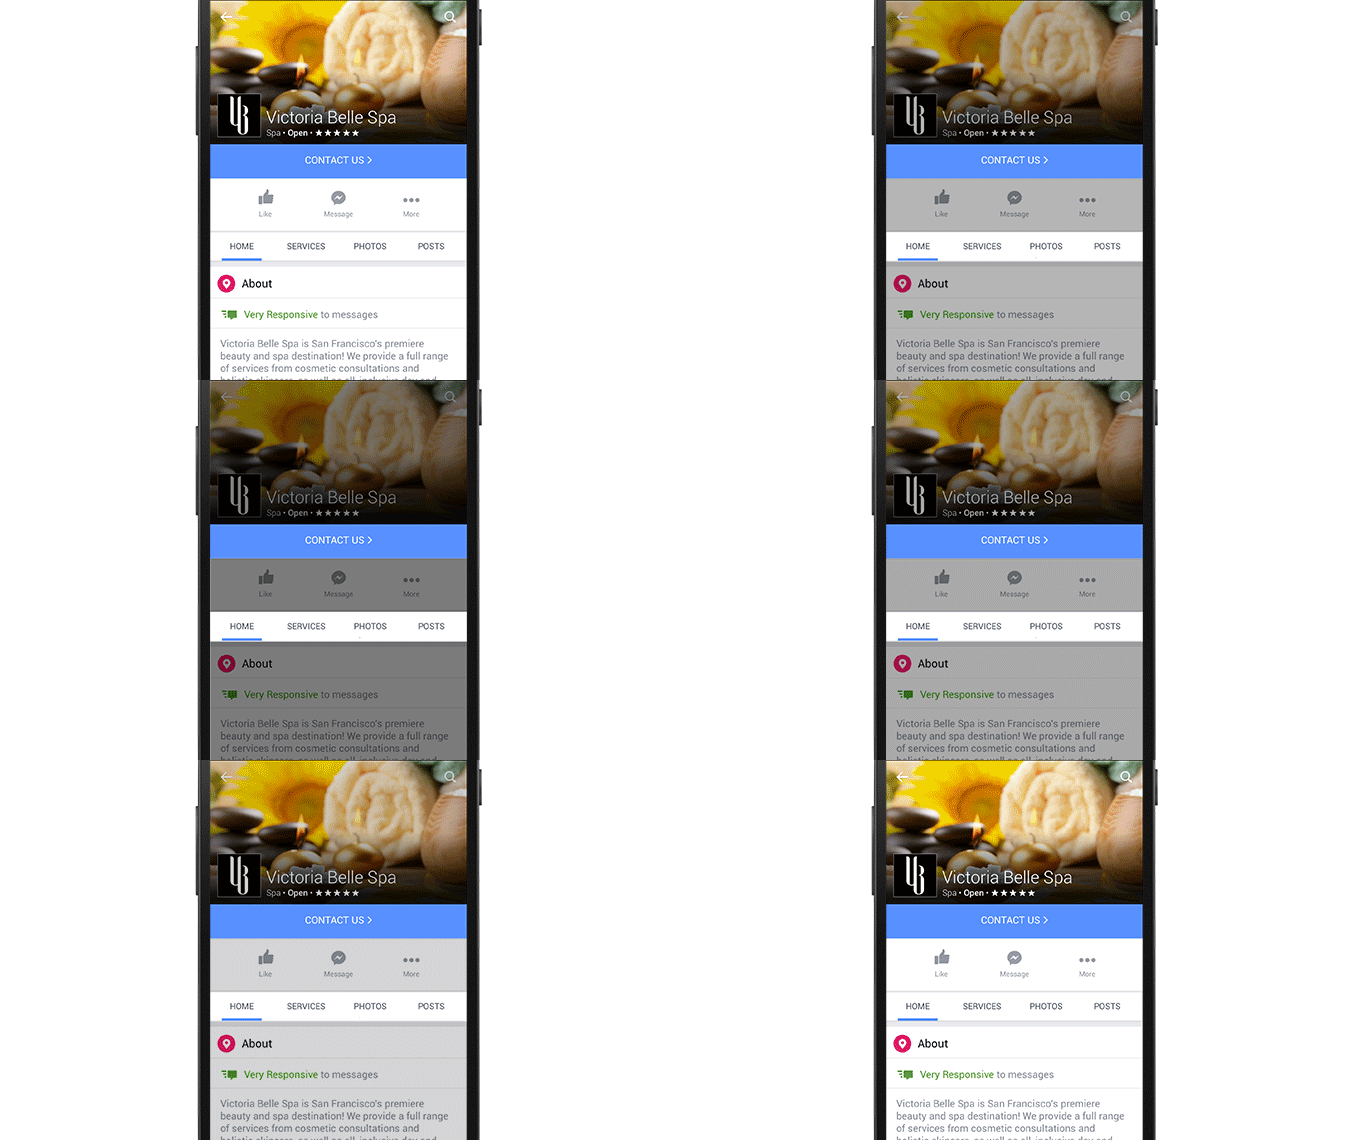
Firstly you need to check if you the capability to add a Services tab to your Facebook page, by visiting your page and looking for a Services tab in the menu items below your main cover photo.
Go to your Facebook Page and check if the Services tab is currently present.
The Services tab is mostly available to local business pages, though there are some instances where the tab appears on pages outside of the Local Business category.
For example categories like People > Business Person and Companies & Organizations > Consulting / Business Services, also will have the Services tab. However, this then makes your page similar to a local business page.
Therefore, it does seem that you can add this option to some pages if you fit into the right category. If you really want to have a Services tab on your page, then try experimenting with service-related categories that are related to your business, and see if you can make the Services tab appear in your page’s menu.
Also, pay attention while experimenting with different page categories, make sure to check your page’s left sidebar. If your page category is set as Company & Organization or Local Business, your About box will no longer be a short description and website link box. Instead, it will change to the local business information and website link.
If you do change your business to the Local Business category, you then open yourself up to check-ins and reviews, which is also something to consider. You can learn more about what happens to your page based on its category by visiting the Facebook Help Center and selecting clicking ‘What Features Are Available Based on My Page’s Category’.
Now, let’s go through the steps to add services to the Services section of your Facebook page.
1: Click on the Services Tab
This will then take you to a basic version of your Services tab where you can add each of your individual services. Visitors will see your local business address, website address, and phone number listed here, as well as each of your current services.
2: Add a Service
To add a service, simply click the blue ‘Add a Service’ button. This will then allow you to enter a name, price, description, and a photo for your service.
One thing to remember is that services will stack in the order they are created, there’s currently no way to rearrange your services. Consequently, the first service you enter will be at the bottom of the list, and the last service will be at the top. Also, only the last three services you create will be the ones featured on your Facebook page’s timeline.
You can upload new photos for your services or just add photos them from your Facebook page.
When finished, each service entry will look something like this. You can then edit or delete your service by clicking on the drop-down next to its name.
To continue adding services, click on the ‘Add a Service’ button again. As you add more and more entries, they will stack, and your Services tab will look like this:
3: Publish Your Services Tab
Important Note: Until you click the Published indicator in the left sidebar, the Services tab will only be visible to you and the other page managers.
Once you’ve published your Services tab, your visitors will then see the top three services, above your page posts.
Note: The text shortens on the service item previews on your timeline, so remember to always display the most important information at the beginning. When visitors click on a service, the See All link will appear, and clicking it reveals more details about your services.
The main downside of the Services tab itself is that unlike the Facebook page Shop section, people can’t actually purchase a service from this tab.
Therefore, the only call to action from this view is the button on your cover photo, or the information in the left sidebar (which should include your website and phone number).
4: Use the Pricing Field as an Alternative Call to Action
If you want to get your potential clients on the phone, or to arrange a meeting. Then an alternative to listing your service prices would be to use the pricing field as a call to action.
Unlike the Facebook Shop section, there are not many specific terms related to how you can and can’t use your Services tab (beyond those listed in the general Facebook Pages Terms). However, this could change in the future, but for now, you can experiment with different calls to action to see which ones works best for your Facebook business page.
5: Use Each Service Item to Detail One Service
If your business only offers one service, and you want to take advantage of the Services tab, you could utilise each service item to provide more in-depth information about your service.
For example, a cleaning service could use each service item to do the following.
This allows you to make your service even more appealing, by giving out more details. Even if you are a service provider with multiple services, you could take this action to make it more appealing.
There is definitely no right or wrong way to utilise the Services tab. The key is to test different things and see what combination of service listings, details, and calls to action get the most response for you.
Conclusion
For businesses that don’t offer physical products, the Facebook’s Services tab is an excellent way to feature your services on your main timeline. With the right copy and utilisation of the fields for each service, you could easily boost the number of leads your Facebook page generates for your business.


